iRidium Server for Raspberry Pi
Installing and setting up a server in a project i3 lite
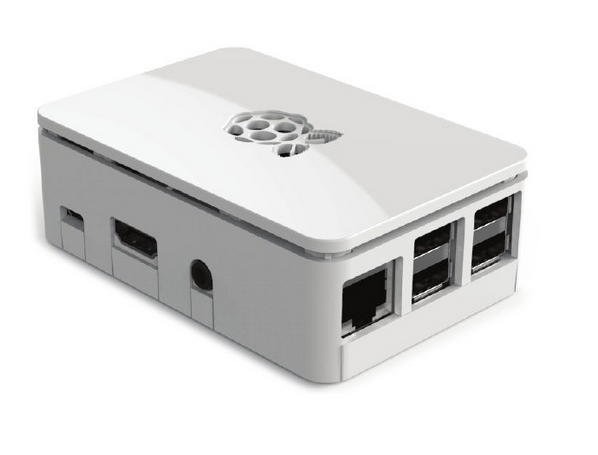
iRidium Sever for Raspberry Pi is a program implementation of iRidium Server, which is launched as daemon or console application on a Raspberry Pi 3 controller
Download iRidium server for Raspberry Pi3
Technical characteristics:
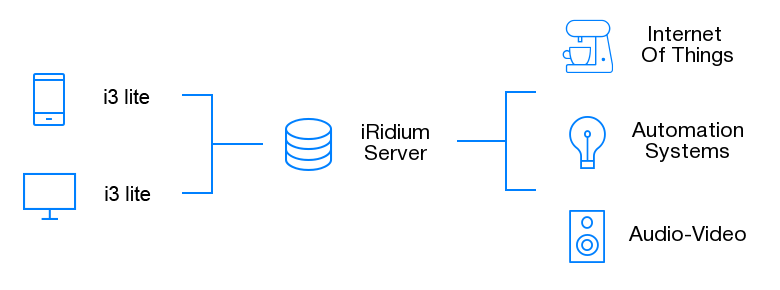
iridium server conects to a hardware and send commands from a control panel to it. The control panels connect to the server to control the hardware through it, receive feedback, upload logs and database.
Installation and configuration
To install iRidium server on Raspberry Pi download and install a required software:
- Download (*.deb) server file for Raspberry Pi
- Download and install WinSCP
- Download and install PuTTY
Connect and configure Raspberry Pi according to instructions from raspberrypi.org.
Raspbian operating system must be installed on your device (officially supported operating system Raspberry Pi on the basis of Debian).
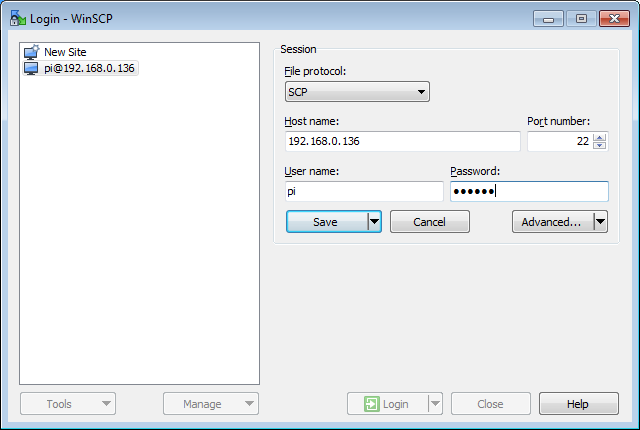
1 Launch WinSCP. In the program interface configure:
- File Protocol: SCP
- Host name: Raspberry Pi IP-address (to find out your address enter
ifconfigin the pi console) - Port number: 22
- User name: your login ("pi" by default)
- Password: your password ("raspberry" by default)
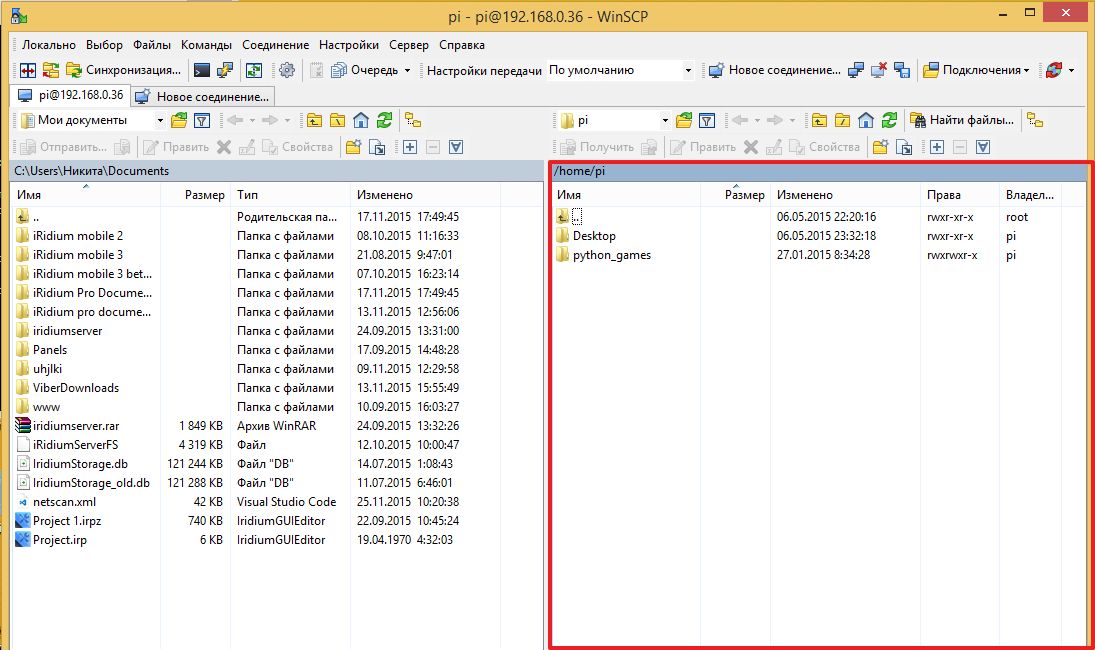
2 Save the settings with the Save key. Connect to Raspberry by pressing Login button . If the connection parameters are entered correctly, you will see a window on the right side of which is a menu for working with your Raspberry files:
3Copy a(*.deb) file, which you downloaded by link #1, in /home/pi folder
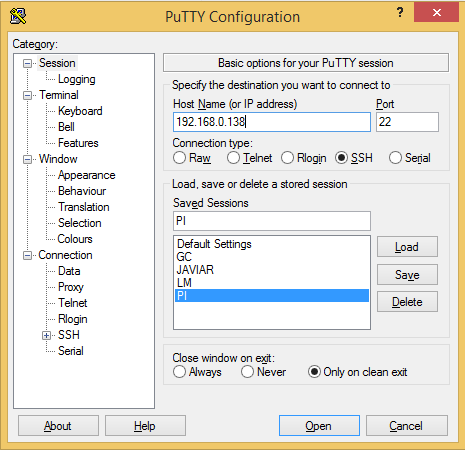
4 Launch PuTTY. In the program interface set up:
- Host Name (or IP address): IP-address of your Raspberry
- Port: 22 (default)
- Connection Type: SSH
- Saved Session: enter the name of the current setting and click Save
- Close window on exit: Only on clean exit
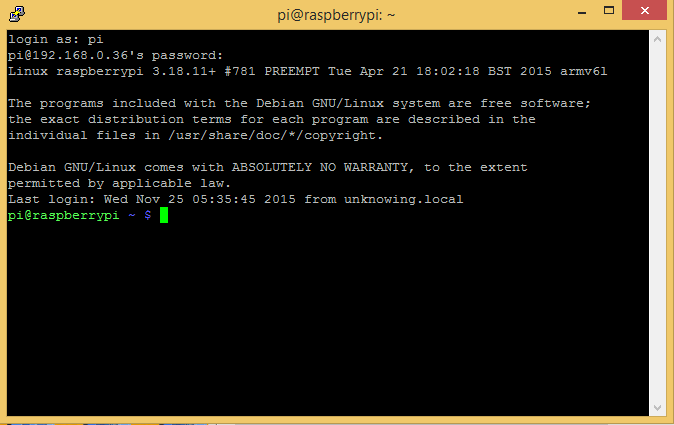
5 In the configured PuTTY click "Open" - the console will open. Enter login and password for connecting to the server.
6 If the login and password are correct, you will see a message about a successful connection to Raspberry
You can configure a static IP-address for Raspberry through Putty, by instruction
7 Install the package loaded into the Raspberry memory using the command:
sudo dpkg -i /<way_to the_package>/<package_name>.deb
For example:
sudo dpkg -i /home/pi/iridiumserver_1.0.0-5934_PI.deb
Wait for the installation to complete. Do NOT turn off the power of the device. As a result, you will see:
After installation, the server runs as a daemon - the PuTTY log will NOT display any working information, when you restart, the Raspberry Server will start automatically.
8 Launch the server from the iridiumserver directory. To do this, there are commands:
-
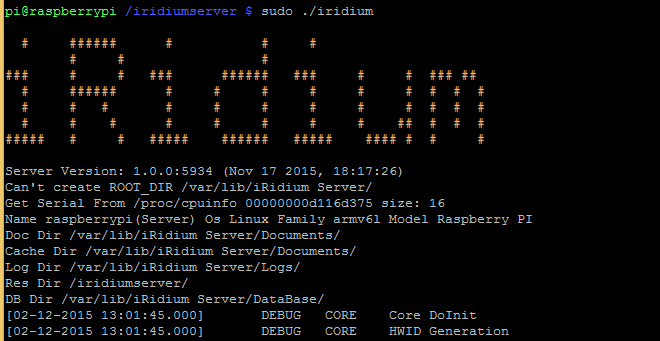
sudo ./iridium- launch the server. When you close the console, the server closes -
sudo ./iridium --hidden- launch the server in the background (like a daemon). When the console is closed, the server does NOT close
Successful server startup:
An error may occur when you try to restart the server in the background:
In case of such an error, enter the command:
sudo rm /tmp/irdaemon.pid
and restart the server (item 8).
9 The server is ready to work with the project
Adding a server to the i3 lite project
You may add the server to the project in two ways:
1 Adding the server during the creation of the project
Launch the i3 lite application and start to create a project. The application will ask you to add a server. You need to agree.
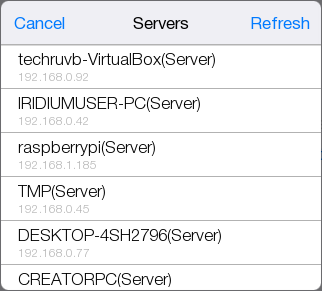
You will see a window with the servers available on the local network. You need to select your server
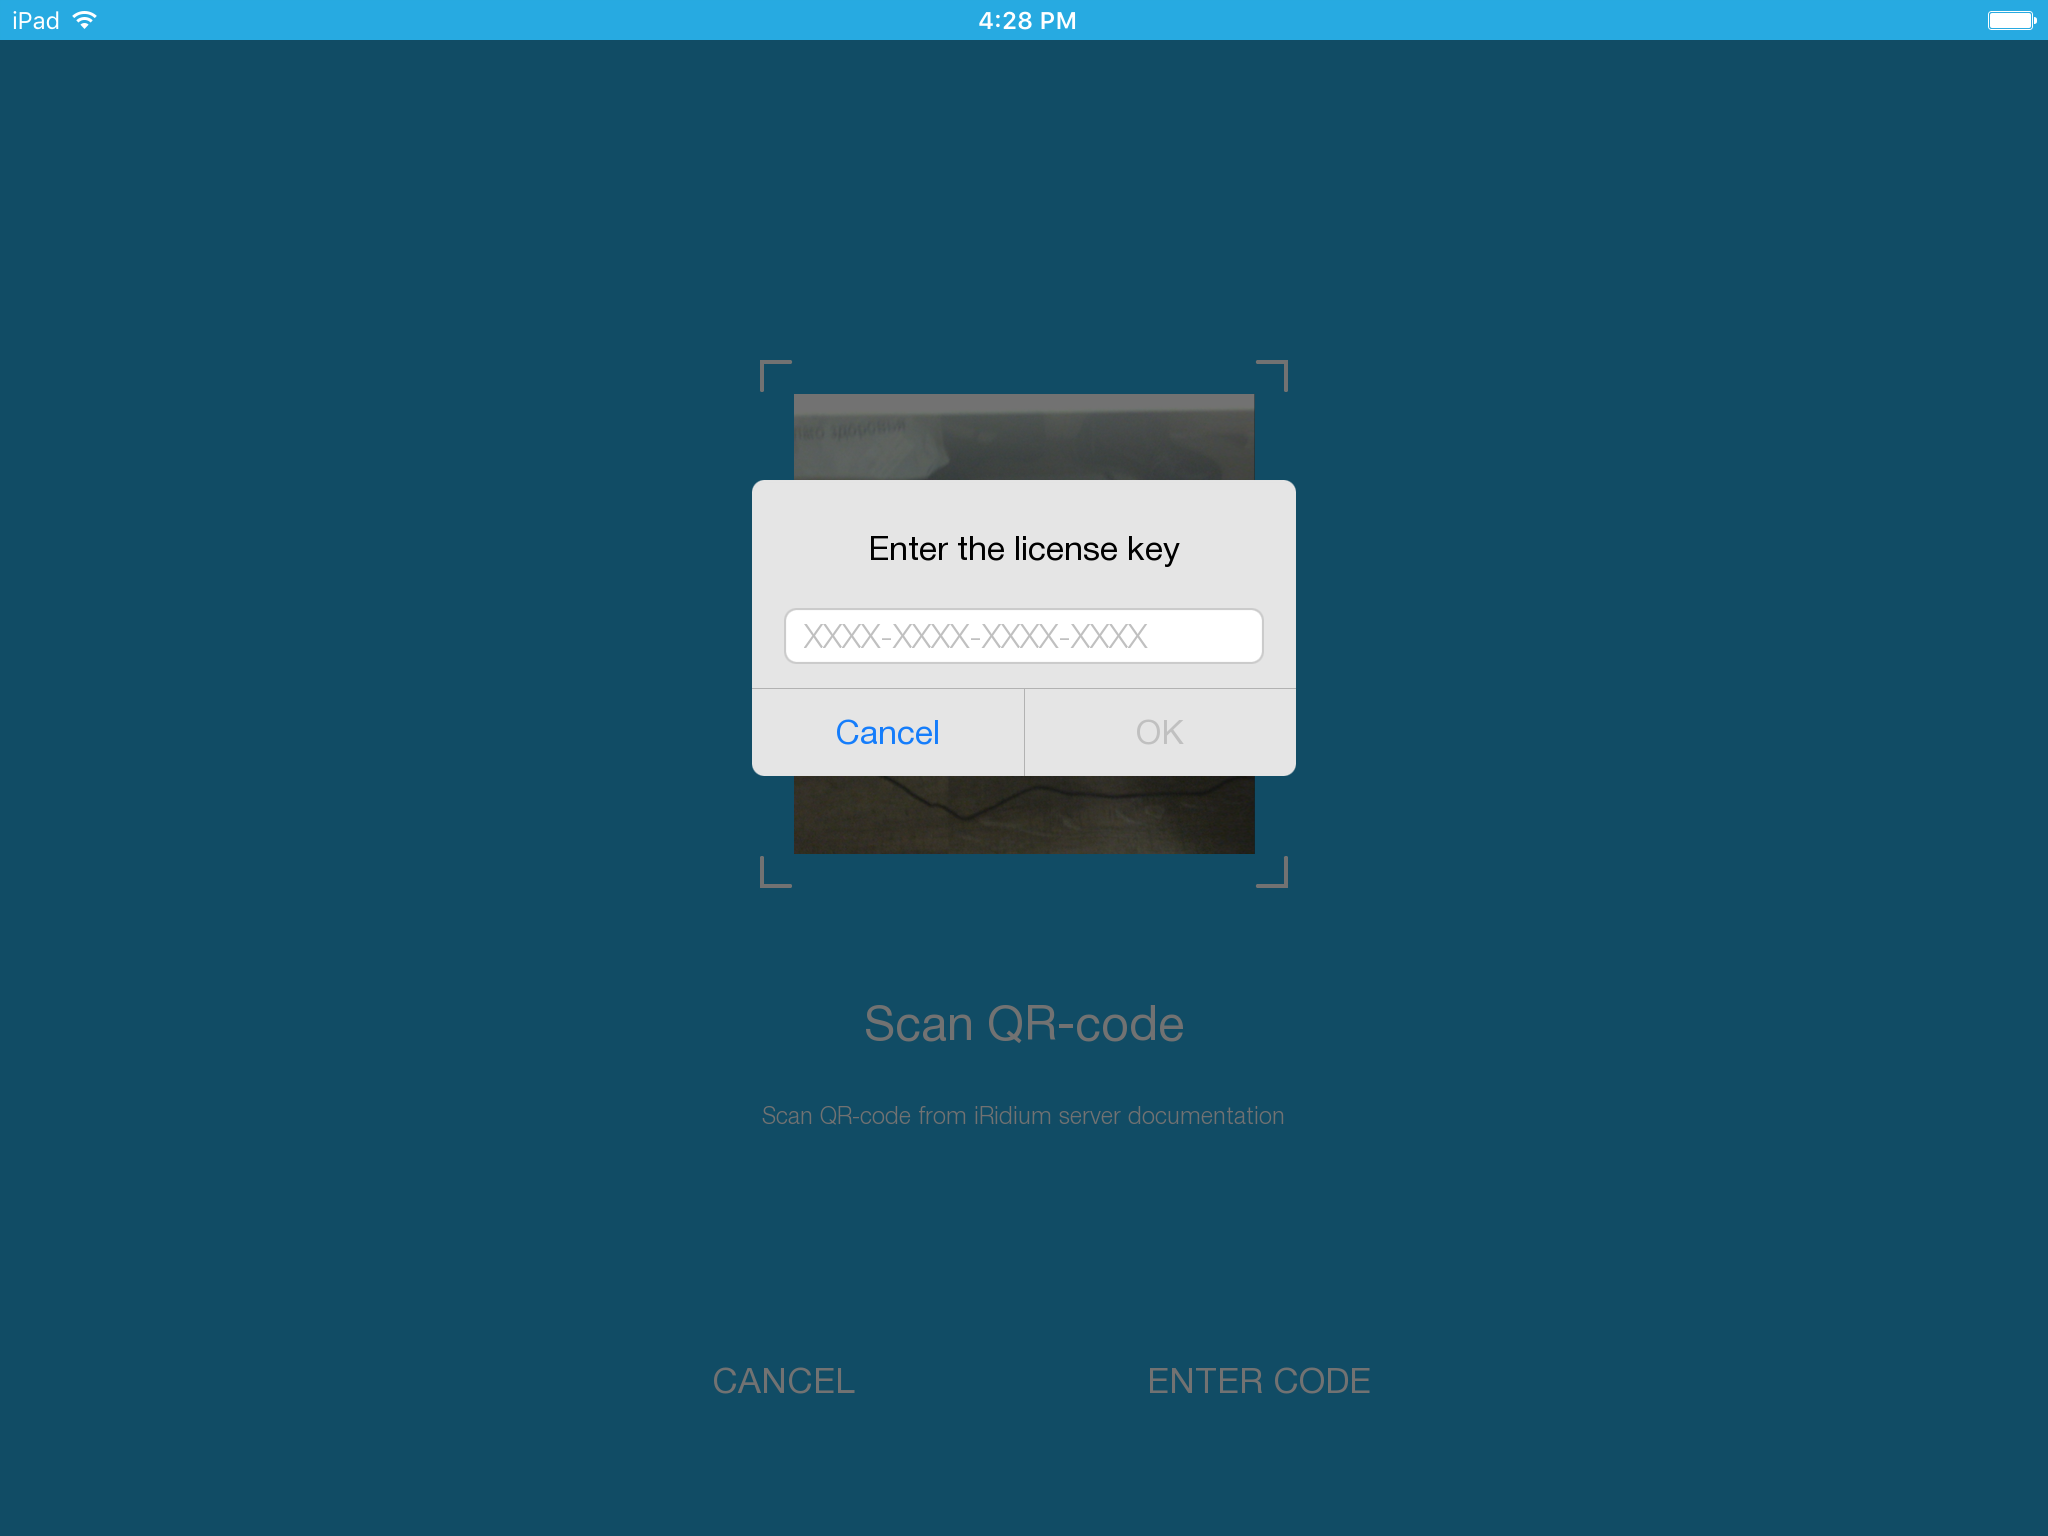
The application will ask you to enter the activation code using the QR scanner or manually
Now the server is added to the project.
2 Adding a server to the already created project
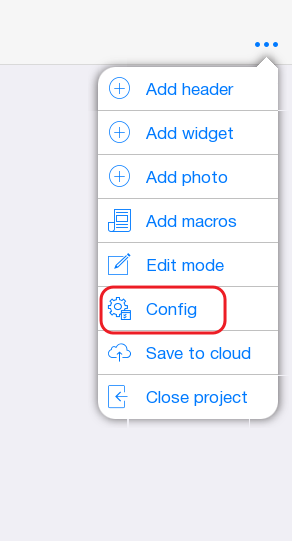
Open the project and go to the Config
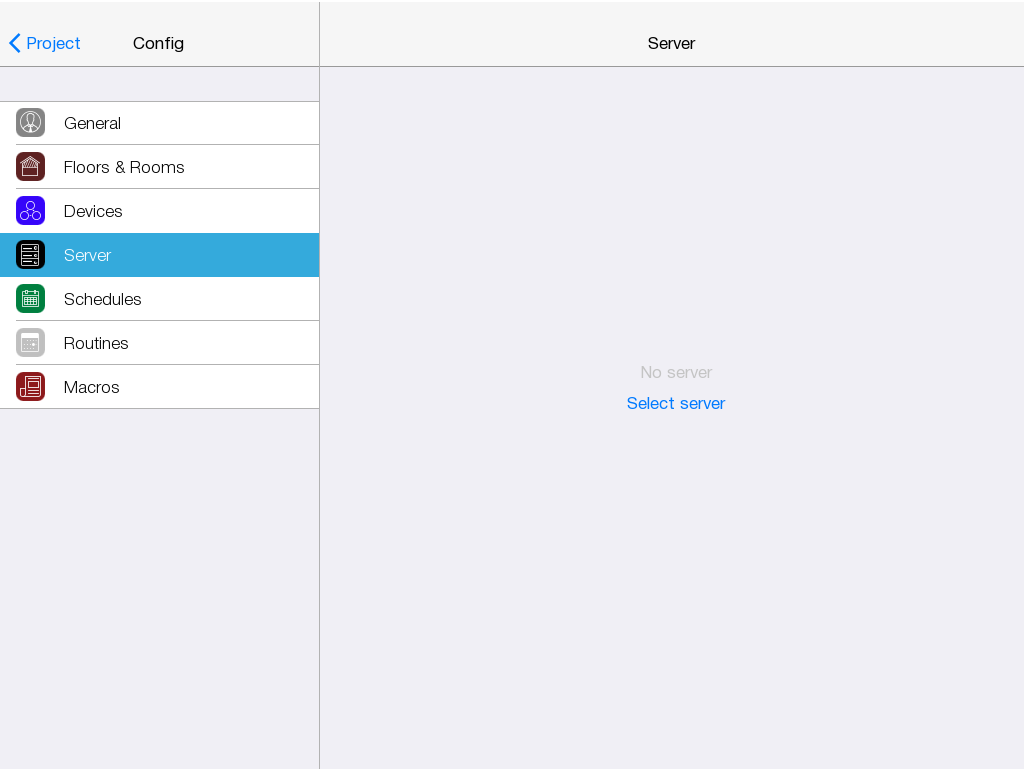
Click the "server" tab and click the "Select Server" button.
You will see a window with the servers available on the local network. You need to select your server. The application will ask you to enter the pin code from the server (pin code is default 2007). After entering the PIN code, the server must be activated by clicking on the corresponding button

