Содержание
Installing and setting i3 lite app
Installation and registration
To create and set a project download and install the client app available for the following platforms: iPad/iPhone/iPod touch with iOS 7 and later; Android 4.4 and later;Windows 7/8/10 (Из itunes, google play or our company’s web-site)
Invitation code is an identification code given by iRidium Authorized partner. If you enter an invitation code, when registering, you get:
- individual tech support from the indicated Authorized partner
- silver dealer status instead of bronze. It gives better conditions of purchasing and working with iRidium products.
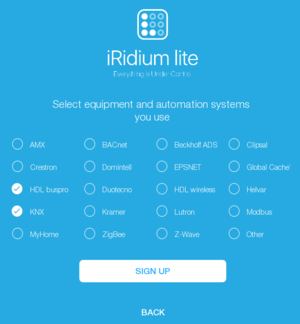
Select equipment you plan to work with.
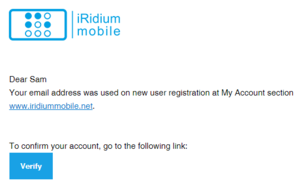
A letter is sent to your e-mail with a request to verify your account. Check, whether the email is in the junk folder of your email account, since confirmation mails with backlinks are sometimes classified as spam.
Follow the link and you get into an account for iRidium lite.
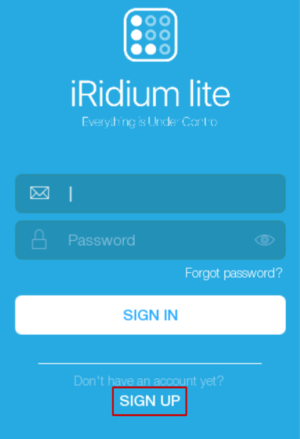
Fill in additional information about your company. You can also register in the app. Select “Sign up”, when you launch the app for the first time.
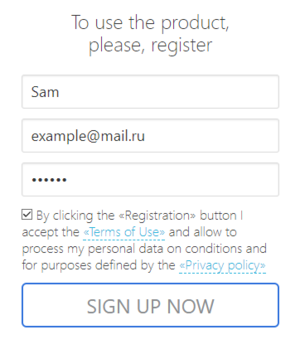
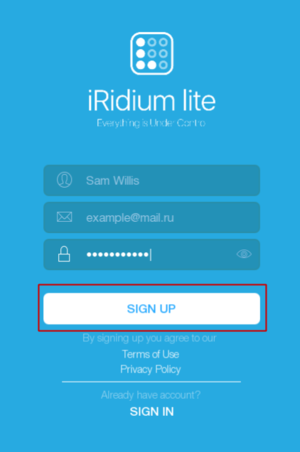
Fill in the following fields: “User name”, “e-mail”, “password”. Press “Sign up”.
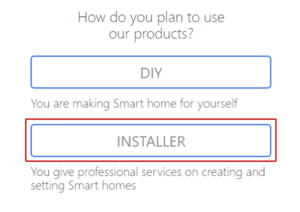
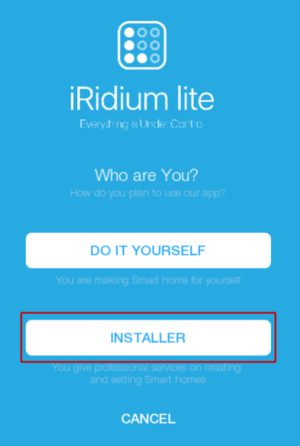
Installer account is required.
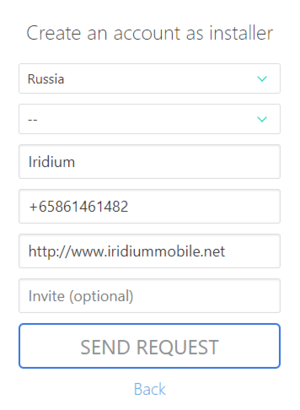
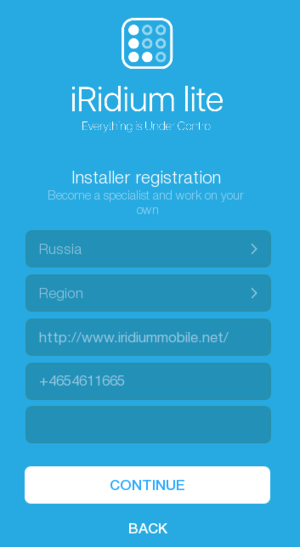
Fill in data about yourself: country, company’s web-site, phone number. Invitation code is entered if you have it. Then press “Continue”.
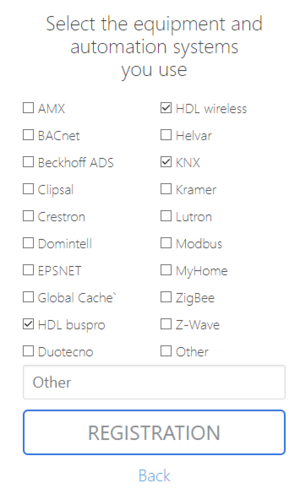
Select equipment you plan to work with.
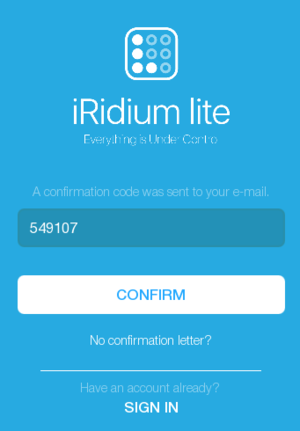
A confirmation code is sent to your e-mail, check your e-mail, enter the code and press “Confirm”. If you can’t find a letter with a confirmation code in your e-mail, check the spam folder. If some time later, still no letter comes, select “No confirmation letter?”, and a code will be sent to your e-mail one more time.
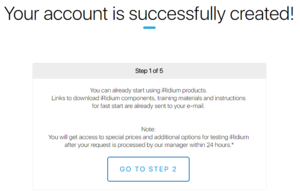
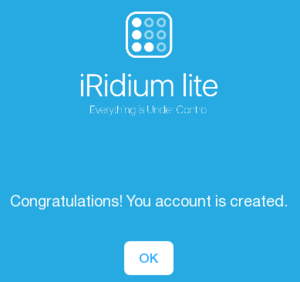
A message appears on the screen that your account is successfully created
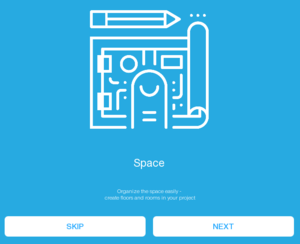
Information pages can be looked through or skipped.
But to use all features of an integrator’s account, please wait for approval of your account from iRidium mobile team and only after it you can start using the app.
Entering the App
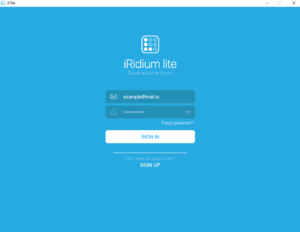
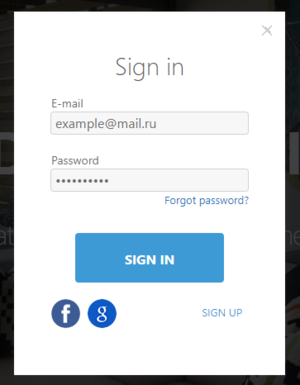
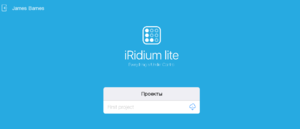
If you registered in the app, you get at once to the authorization page. If you got registered on the web-site, launch the i3 lite app. On the Welcome page enter your e-mail and password that you used at registration. Press “Sign in” .
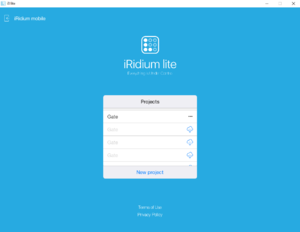
The next window shows created projects
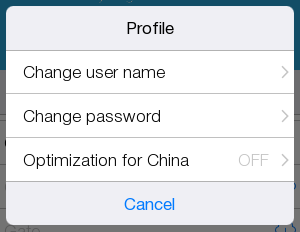
You can change user settings by pressing the user name in the top left corner.
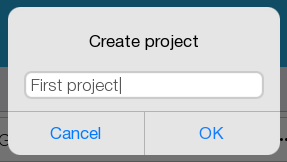
Press "New project" and enter project name.
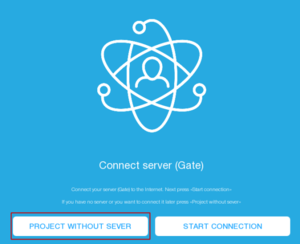
Select "Project without server"
Config
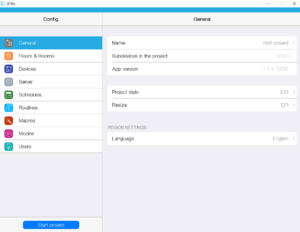
The window where an installer gets first of all is called“Config”.
The “General” tab contains information about the project, the app version and allows to change language, style and project display.
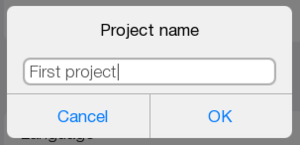
Renaming a project:
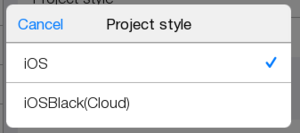
Changing the style
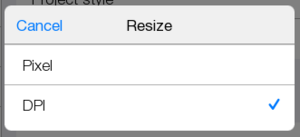
Selecting project display (allows to adapt the interface for different panels)
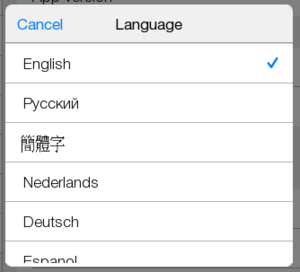
Changing the language.
Creating rooms
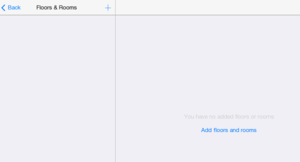
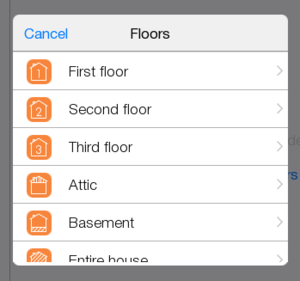
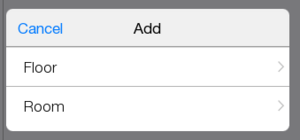
To begin with we create a floor and add 2 rooms to it. It is done with the help of “Add floors and rooms” or with the help of the plus button in the top right corner
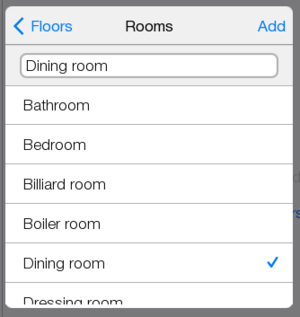
To add a room, select it from the list or enter its name in the line.
Now we have one floor with one room. You can create more floors and rooms later on.
Add another room. Go back and start the project.
Template
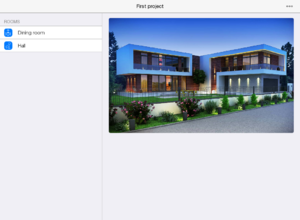
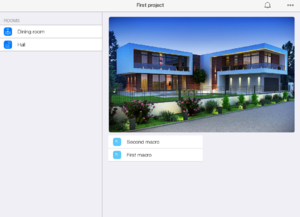
This window is called “Template”, an end-user uses this window. It shows a list of rooms, macros and modes.
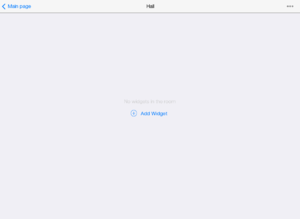
Device widgets, macros, modes, photos, headings are displayed in a room.
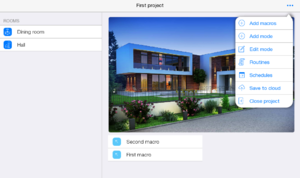
They can be edited by pressing
![]() in the top right corner. Control buttomns are located there.
in the top right corner. Control buttomns are located there.
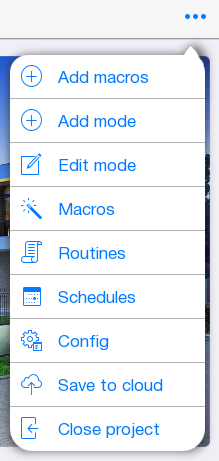
For the main page:
![]() - “Add macros” and “Add mode” add created macros and modes to the main page.
- “Add macros” and “Add mode” add created macros and modes to the main page.
![]() - “Edit mode” edits (moves and deletes) macros and modes of the main page.
- “Edit mode” edits (moves and deletes) macros and modes of the main page.
![]() - “Macros”,
- “Macros”,
![]() - “Routines”,
- “Routines”,
![]() - “Schedule” go to the config and create new macros, modes, schedules.
- “Schedule” go to the config and create new macros, modes, schedules.
![]() - “Config” goes to “Config”.
- “Config” goes to “Config”.
![]() - “Save to cloud” saves a project.
- “Save to cloud” saves a project.
![]() - “Close project” asks about saving a project to the cloud, closes the project and goes to “Welcome” page.
- “Close project” asks about saving a project to the cloud, closes the project and goes to “Welcome” page.
Save the project in the cloud not to lose it.
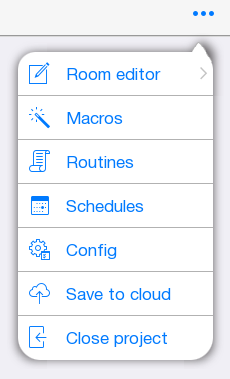
“Macros”, “Routines”, “Schedule”, “Config”, “Save to cloud”, “Close project” in the room do the same.
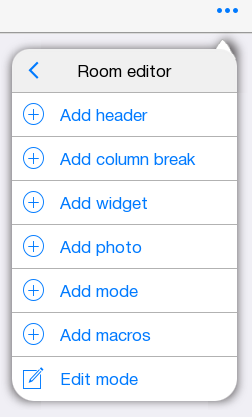
![]() - “Room editor” goes to the room settings.
- “Room editor” goes to the room settings.
![]() - “Add header” adds a heading.
- “Add header” adds a heading.
![]() - “Add column break” adds column break.
- “Add column break” adds column break.
![]() - “Add widget” allows to add all device widgets existing in a project.
- “Add widget” allows to add all device widgets existing in a project.
![]() - “Add photo” adds an image to a room.
- “Add photo” adds an image to a room.
![]() - “Add macros” and “Add mode” add macros and modes that already exist to a room.
- “Add macros” and “Add mode” add macros and modes that already exist to a room.
![]() -“Edit mode” allows to edit (move, delete) all items added to a room.
-“Edit mode” allows to edit (move, delete) all items added to a room.
Adding Devices
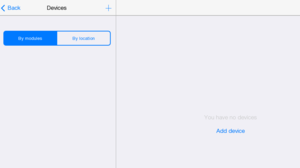
Come back to the “Config” and go to “Devices” tab.
A device can be added with the help of “Add device” or
![]() in the top of the screen.
in the top of the screen.
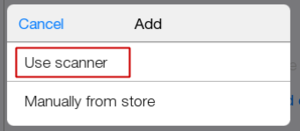
Select “Use scanner” or “Manually from store”.
In both cases you get to “iRidium store”.
It’s easier and faster to use a scanner. It allows to add all devices simultaneously. No need to enter network settings (host, port, id, etc.).
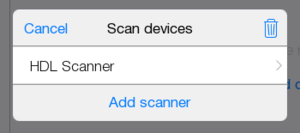
Select “Use scanner”, “Add scanner” and you get to “iRidium store”.
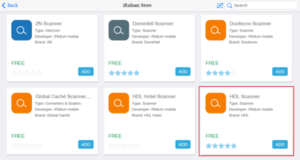
You need “HDL Scanner”.
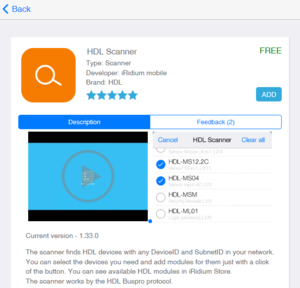
Press on “HDL Scanner” and get information about it. Add the scanner to the project.
Now “HDL Scanner” is in the list of devices .
Launch it.
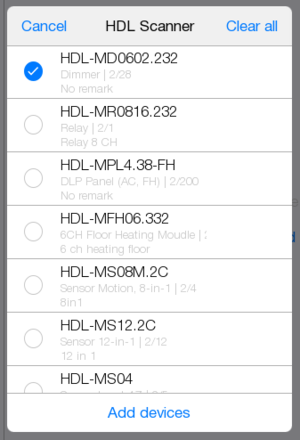
All available devices will be displayed in the window.
Select a dimmer and add it to a project.
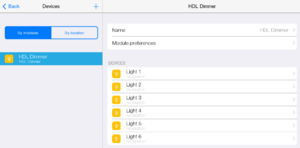
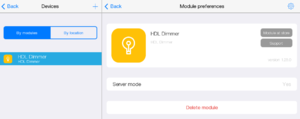
The window shows a device and all subdevices that make it up.
Subdevice is a functional object of iRidium lite.
For example, 1 subdevice is a lamp or 1 channel of KNX relay or 1 channel of HDL dimmer.
Sensors are not subdevices and they are controlled for free.
For more convenient calculation when choosing a license, subdevices are united into packes by 20 subdevices.
In “Module preferences” you can delete a module and go to “Support” page.
By pressing on
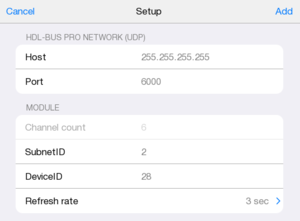
![]() you can go to “Setup”.
you can go to “Setup”.
Parameters of access to a device are set here.
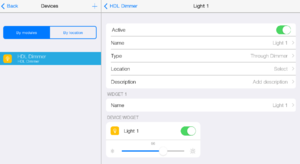
By pressing on subdevice, go to settings.
Available: subdevice activation/deactivation; changing subdevice name; changing the type; selecting location; adding a description; widget; changing widget name.
Location, it turns out to be the real location of a device in a room если добавлять. If you want to place only a widget to control a device from the “Template”, do it with a simple widget to control a device.
All devices are located in rooms.
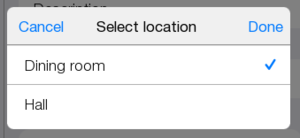
To add physical location of devices use "Location".
When you select location of a device, its widgets are automatically placed in a room.
Later on you can delete or add device widgets from another room, but the location of a device won’t change.
Place a device in the created room.
Add location to dimmers 2 and 3.
Start the project.
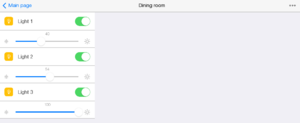
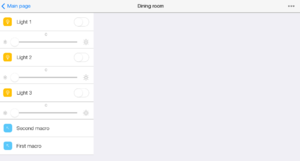
Go to the room.
Macros
Macro is a sequence of control commands that is activated by pressing a button. It contains Action and Condition.
Let’s make a macro to turn on several dimmers at the same time. Go to “Config”.
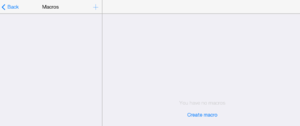
Go to “Macros”.
You can create a macros with the help of
![]() or “Create macro”.
or “Create macro”.
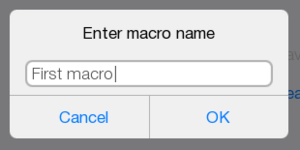
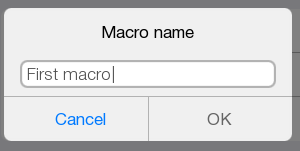
Enter macro name.
Save it.
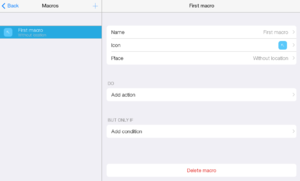
A macro can be set.
Renamed.
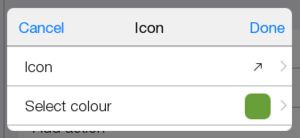
A macro icon can be changed.
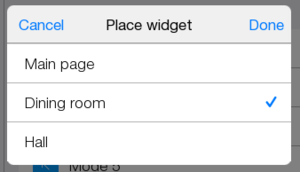
Macro location can be set.
Macro structure can be edited
![]() .
.
A macro can be deleted.
![]()
Let’s create two macros. Select location for the two macros in the room, where dimmers are located.
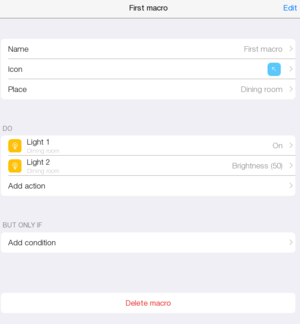
Macro 1.
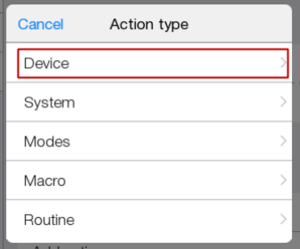
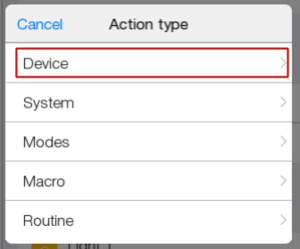
In “Add action” select “Device”.
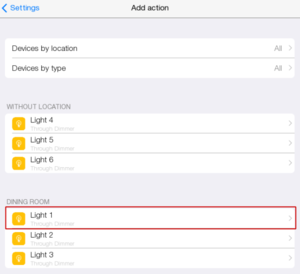
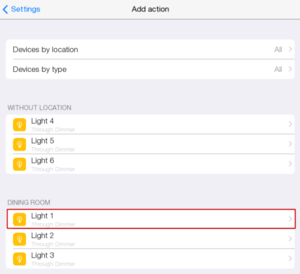
Select Light 1.
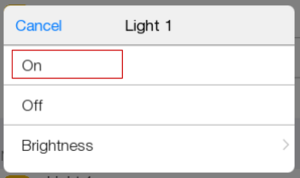
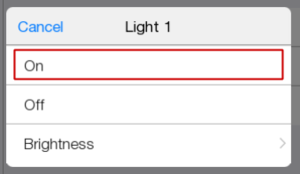
Press “On”.
Add Light 2.
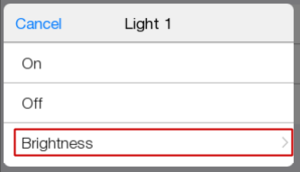
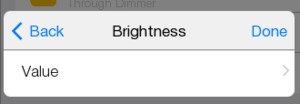
Select “Brightness”.
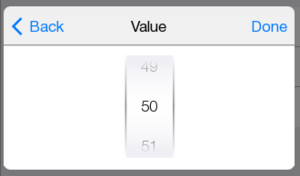
Set “Value” at 50.
When the macro is pressed it turns on dimmers.
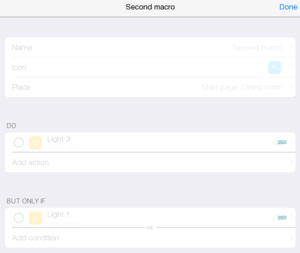
Macro 2.
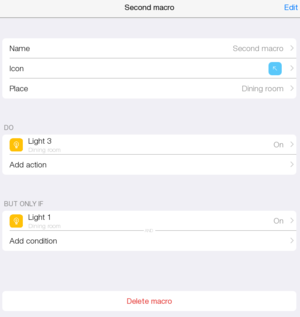
Create Second macro.
In “Add action” select Light 3.
Press “On”.
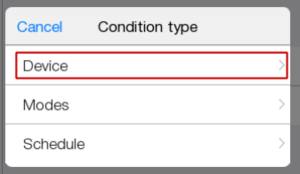
Set a condition for this macro by pressing “Add condition”.
Select “Device” and Light 1, with “On” value.
Dimmer 3 turns on only if dimmer 1 is turned on.
Start the project.
To check macros work, turn off dimmers.
When “First macro” is pressed, dimmers 1 and 2 are turned on. And dimmer 2 has a value that was set.
When “Second macro” is pressed, dimmer 3 is turned on, as dimmer 1 is turned on too. If you turn off dimmers 1 and 3, and press “Second macro” again, dimmer 3 won’t be turned on.
Schedule
If you want lamps to turn on and off at a definite time, create a schedule and a routine.
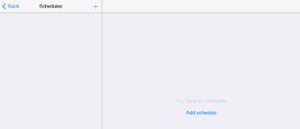
Schedules are created with the help of
![]() or “Add schedule”.
or “Add schedule”.
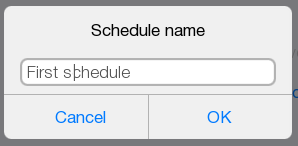
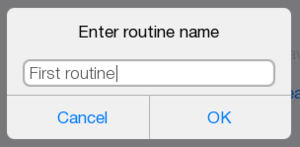
Enter schedule name.
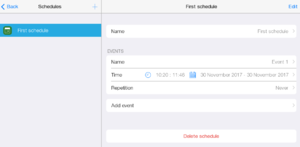
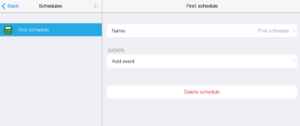
A window with a created schedule appears.
Here you can rename a schedule, add an event, delete a schedule.
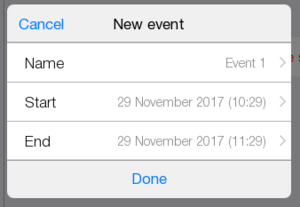
Create an event.
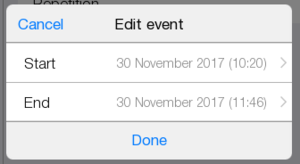
Press “Add event”
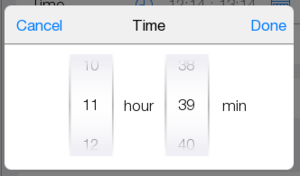
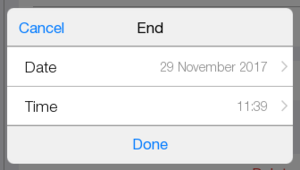
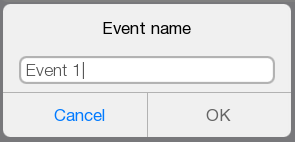
Enter a name, the beginning and the end of the event
The end of the event is not used. Leave as it is.
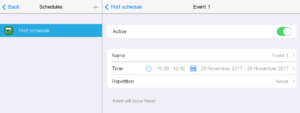
Here is the created event
The event can be activated/deactivated
![]()
It can be renamed;
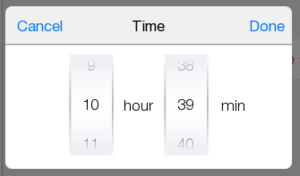
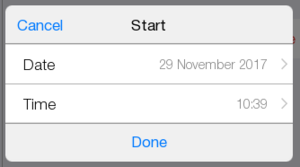
Date and time can be changed;
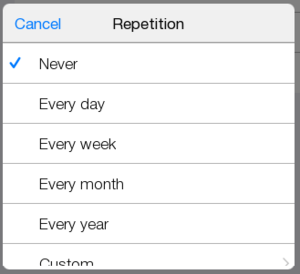
Set repetition.
Routines
Routines are a logical component of project that keeps track of changes in equipment states and reacts to the change as set in the logics. A routine can be server and panel. A panel routine works on panels as long as iRidium lite app is launched. A server routine works on the server, even if the app is off.
Let’s create 2 panel routines.
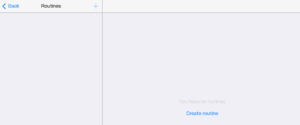
Go to “Routines” and create a new routine.
Press
![]() .
.
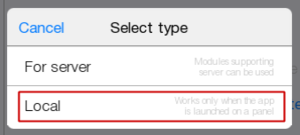
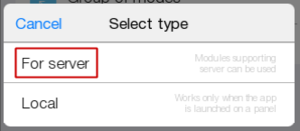
Select “Local”, as the server is not used in the project yet.
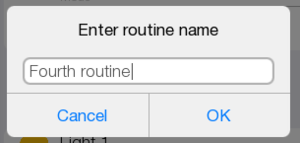
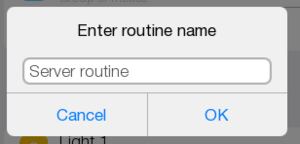
Enter a name
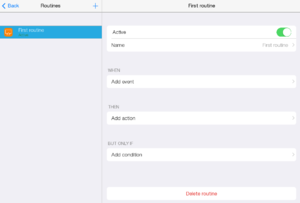
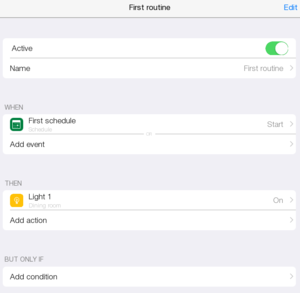
Here is a window with a created routine.
Let’s set the created routine.
Rule 1.
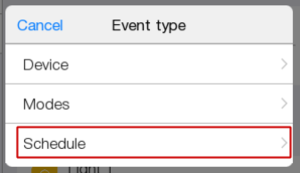
In “Add event” add “Schedule” event.
Select the required one in the list.
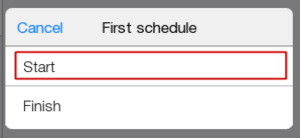
Press“Start”.
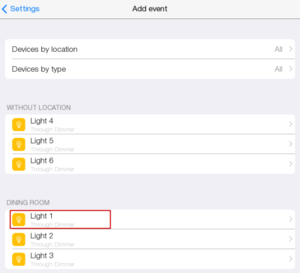
In “Add action” select“ Device”.
Select dimmer 1.
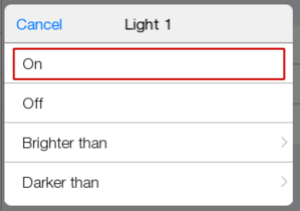
Press “On”.
Ready schedule.
When an event starts, lamp 1 is turned on.
Routine 2.
Press
![]() .
.
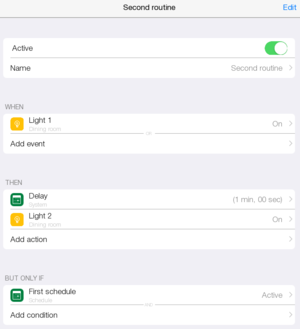
In “Add event” add a condition that dimmer 1 is turned on.
Press “On”.
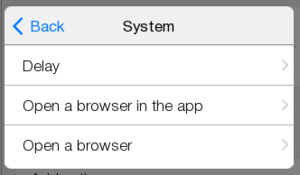
Press “Add action”, select “System”.
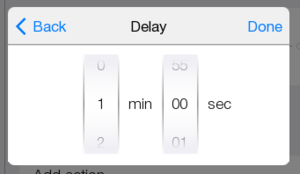
Select “Delay” with 1 minute value.
Add dimmer 2 to “On”.
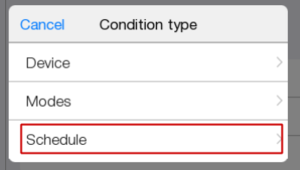
Now add a condition in“Add condition”
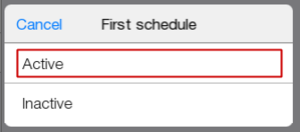
Select “Schedule”. Press “Active”
The schedule is ready.
If lamp 1 is turned on and the event is active, dimmer 2 is turned on with a delay of 1 minute.
Go to “Template” and enter the room to check the routine work.
Modes
Routines can be launched with the help of modes - a sort of triggers.
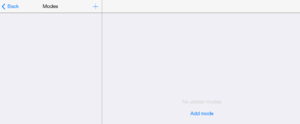
Go to the Modes tab.
Create a mode with the help of
![]() or “Add mode”.
or “Add mode”.
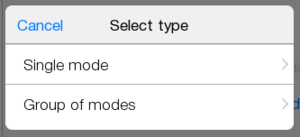
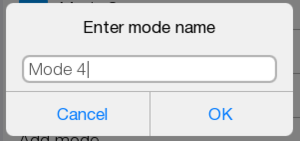
Modes can be single and group.
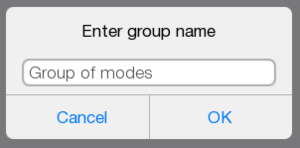
Let’s create both types of modes.
Single mode
Here is a window of a single mode.
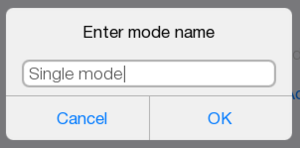
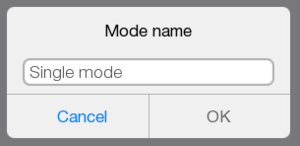
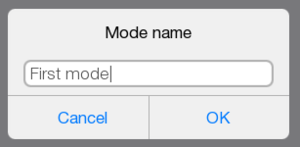
The name of a mode can be changed.
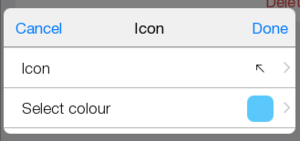
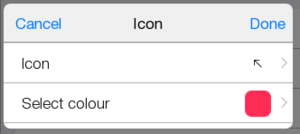
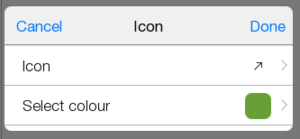
An icon can be changed.
Location can be changed.
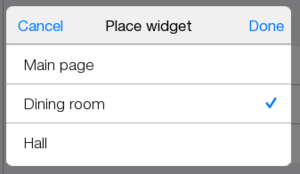
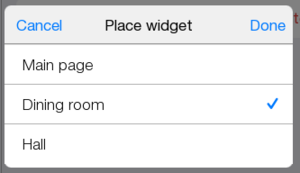
Locate the mode in the required room.
Press “Place”.
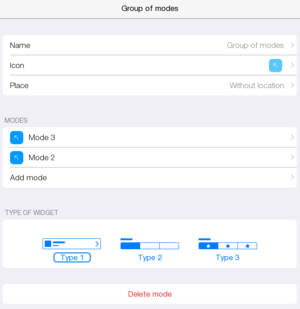
Here is a window of a group of modes.
The following can be set:
Name;
Icon;
Location;
Let’s place the mode in the room with dimmers.
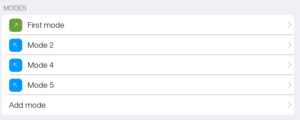
Add two more modes to the group.
Press “Add mode”.
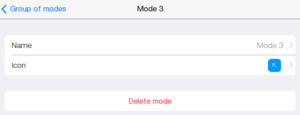
By pressing in each mode you can:
delete it (“Delete mode”);
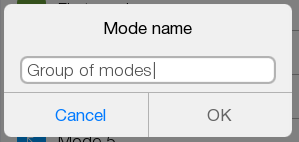
change the name;
change the icon;
The changed mode.
The type of a group of modes can be changed.
Select “Type 2”.
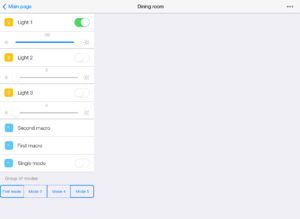
Here is what modes look like in the Template.
 “Type 1”
 ”Type 2”
 ”Type 3”
Editing Rooms
Start a project.
Go to a room.
Let’s try to move items.
Press
![]() .
.
Select “Room editor”.
Press “Add column break”.
Column break is added to the room.
Press
![]() .
.
Select “Room editor”.
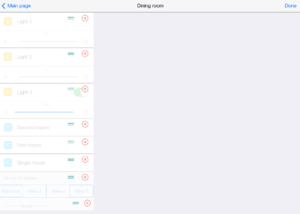
Press “Edit mode”.
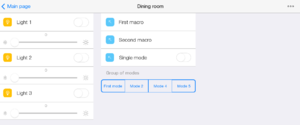
Let’s create two columns.
One column will have widgets. The other column will have macros and modes.
Holding
![]() move macros and items below
move macros and items below
![]()
Change places of “First macro” and “Second macro”.
Press “Done”.
Here is what a room looks like.
Go to “Config”.
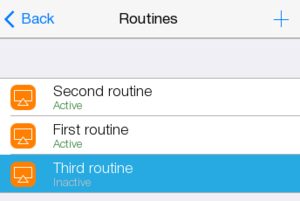
Let’s create 3 new routines with modes.
Go to “Routines”.
Routine 3 to check deactivation.
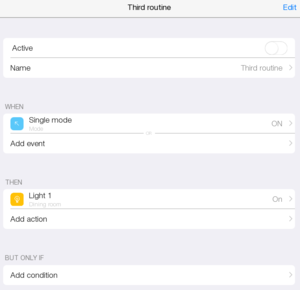
Create a routine “Third routine”.
In “Add event” select “Modes”
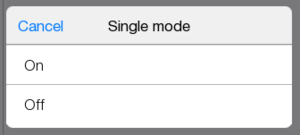
Select single mode.
In “On” status
In “Add action” turn on dimmer 1 and deactivate routine.
The routine becomes the last one in the left column
When a mode is pressed the lamp is not turned on.
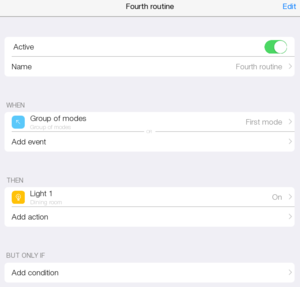
Routine 4
Routine 4 will turn on dimmer 1.
Press “Event”.
Select “Modes”.
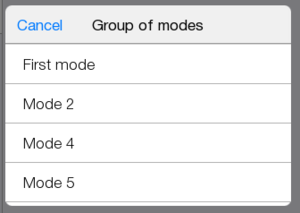
Press “Group of modes”. Press one of the created modes.
In “add action” set simple dimmer turning on.
Device -> dimmer 1
Press “On”.
Here is what the routine looks like.
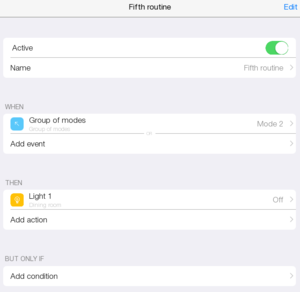
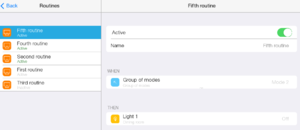
Let’s create routine 5 to turn off a dimmer.
Press “Event”.
Select “Group of modes”.
Press any mode rather than mode 1 (“Mode 2”).
In “Add action”, set dimmer turning off.
Start a project.
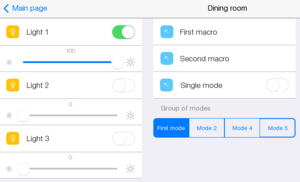
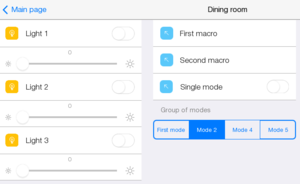
Go to a room.
Turn off all dimmers via widgets.
Press all modes.
Check routine work.
Licensing
To add an end-user, a project must be licensed.
It can be done on the web-site
.
Sign in using your login and password.
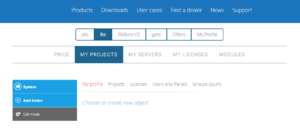
Go to the page with lite projects.
Created projects are displayed here.
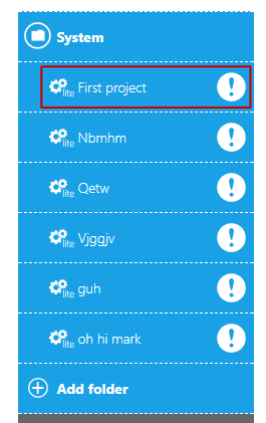
By clicking “System” a full list of projects can be seen.
Select “First project”.
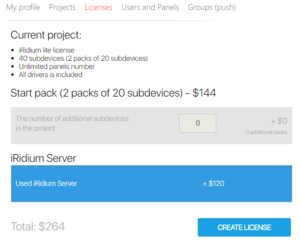
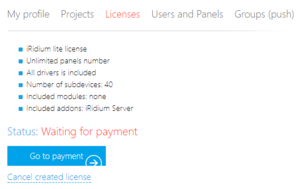
Go to “Licenses”.
Select “Create license”.
Add “iRidium server”.
Click “Create license”.
A license for 40 subdevices is added, now it has to be bought.
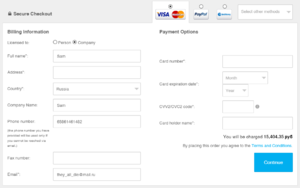
Click “Go to payment”. A payment page is opened.
Fill in information. Click “Continue”
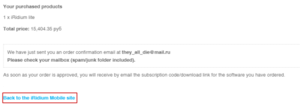
You get a confirmation.
Go back to the web-site by the link.
About 20 minutes later you will get a letter in the e-mail with the key.
A message about a project license appears in My account on the web-site.
Adding Users
After a project is licensed a user can be added.
It can be done from the web-site or in the app.
On the web-site.
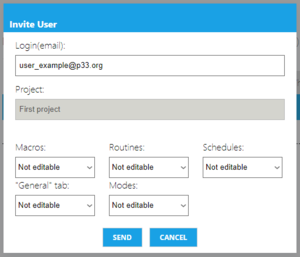
Go to “Users and Panels” tab. Click “Share”.
Select “End user”.
Enter a user’s e-mail in the field.
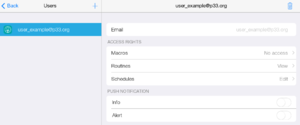
Set access project macros, schedules and routines (no access, viewing, full access).
Select “Send”.
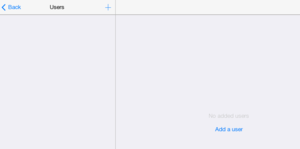
Go to “Users” tab in the app.
Press
![]() or “Add a user”.
or “Add a user”.
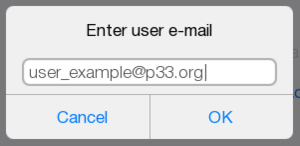
Enter a user’s e-mail in the window that appears.
If a user exists, he will get a message that he has access to a new project.
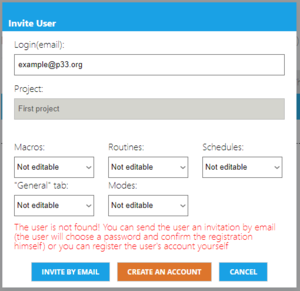
If it is new user.
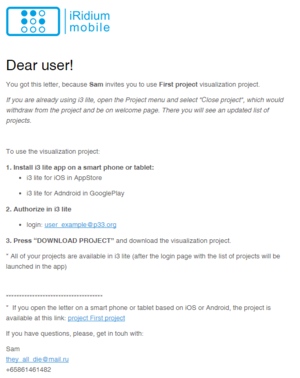
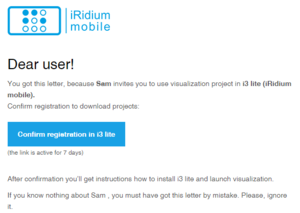
- An end-user can be invited on the web-site. And he/she’ll get a letter inviting him to register.
- You can create an account for your customer. If it is done in the app, the customer gets an invitation e-mail.
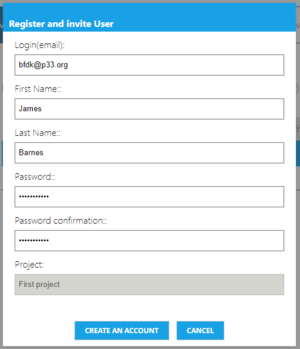
Fill in all fields.
If you create an account for an end-user, fill in all fields. After it a user gets a notification about registration.
When you select “Invite by email” or in the app, a user gets a letter confirming registration and he does not have to register himself or herself.
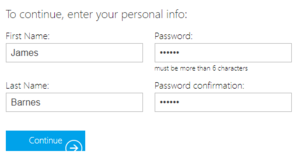
He also need to fill information about himself.
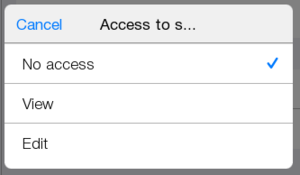
In the app you can set access to project macros, schedules, routines (no access, viewing, full access).
Let’s set access for an end-user.
Create macros with no access, routines with viewing and schedules with editing.
If any server routine is logged, log viewing can be set.
If Push is on, a user will get Push-notifications.
Otherwise messages are displayed only in the app.
For example, let’s turn on push for “Alert”.
Log out of the app.
Enter as an end-user.
Check the created project.
Log out of the app.
Enter as an end-user.
Check the created project.
An end-user sees a project created by you. It must be downloaded from the loud by pressing
![]() ).
Open the project.
).
Open the project.
Here is what a project looks like for an end-user.
Access to “Macros” is limited, they are not displayed in the list.
If a user goes to “Routines”, he sees a list of routines and its conditions, but he can’t add anything new.
When a user goes to “Schedules”, he can edit them and delete.
Log out from a user’s account.
Log in to your account.
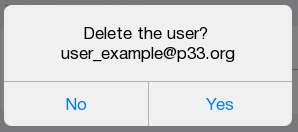
For an end-user not to be able to use this project, a user must be deleted.
Press on the basket icon in the top
![]() .
.
Connecting a server
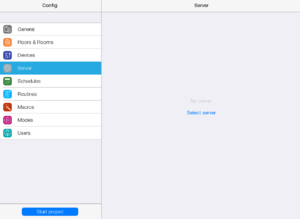
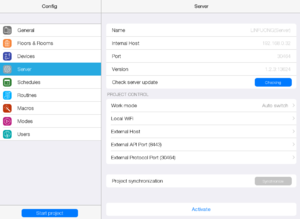
Go to “Server” tab.
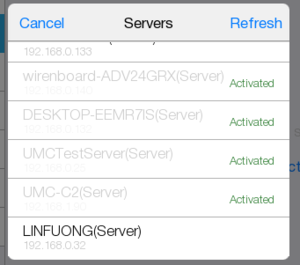
Press “Select server”. Select an available one.
Here is what a page to control project server looks like.
Activate a server
by pressing “Activate”.
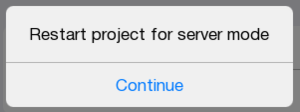
Restart the project.
After activation the project turns out to be in the server mode.
The new symbol that appeared
![]() shows notifications in the project.
shows notifications in the project.
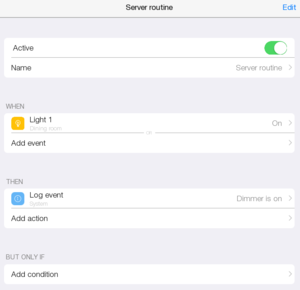
To check the server work, create a simple routine. Go back to routines in the Config and create a server routine.
In “Add event” select turning on dimmer 1.
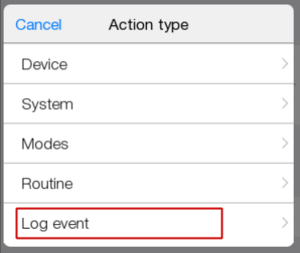
Press “Add action” select “Log event” .
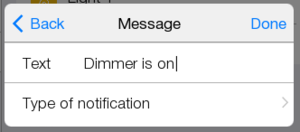
“Text” field enter “Dimmer is on”.
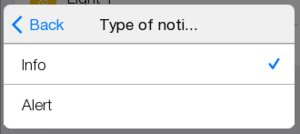
Select “Info” in type of notification.
This routine will display a notification if a dimmer is on.
Start a project.
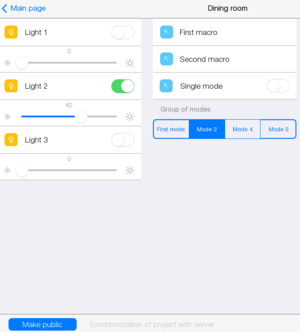
A new button appeared in the Template and in the rooms-
![]() , it sends the project to the server and to the cloud.
To check it, let’s turn off dimmer 1.
, it sends the project to the server and to the cloud.
To check it, let’s turn off dimmer 1.
Press “Make public”.
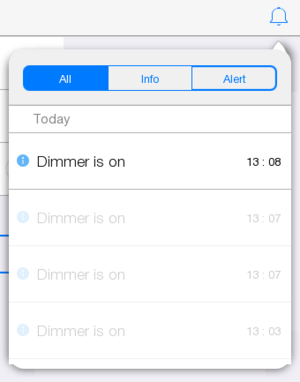
After publication, go to the room and turn on dimmer 1, the notification icon
![]() gets changed.
gets changed.
When it is pressed, a text message appears and it can be read.
Earlier messages will be displayed below in pailer color.

